Setting up an Online Store - Ecommerce Q&A
We recently took to our social media to see if any of our clients had questions about ecommerce stores and where to start. We ended up receiving a few great questions ranging from the starting stages of how to set up an online store, to more intensive questions regarding online marketing, and how to help your clients feel more comfortable shopping online.
We hope that this blog post will shed some light on a task that can seem somewhat daunting. But investing the time to create an online store, especially during these times where some of us are experiencing mandatory brick and mortar closures is totally worth it. Let’s get started!
How do I even get started?
The best place to start when creating an online store component to your piercing studio would be to gather your content.
In order to do this, you must first decide what exactly you’re looking to sell. Will you just be sticking to a few pieces of jewelry to start? Or your entire collection you offer in studio? Would you like to offer aftercare online? Are online gift cards something that might help your business? These are all things you’ll need to think about before creating your online store.
Preparatory to physically being able to build a website it is important to have all the content ready to go.
This can include but is not limited to:
- Product shots
- In ear / body product shots
- Detailed product descriptions, including sizes, materials, gem stones, etc.
Depending on how many products you are choosing to launch your store with, this may be a time consuming step, but product photos and descriptions are the main components that will sell your stock to your clients. It is important to make sure that they are concise, informative, and uniform looking.
Once you have your content ready you will be able to move on to the technical side of creating an online store. In question 4 we will talk more about what platform we suggest using to host your online store. We also go into further details about advertising (question 8) and packaging/shipping in questions 5 and 7!
I was wondering how do you workout jewelry size (length & gauge) without seeing the client? I would be scared of getting returns because the clients didn’t measure properly! Thanks! >
This is a tricky one and an obstacle common jewelry retailers don’t have to face. If your clients do not have a record of the size they wear you could try providing them with guides on how to measure their current jewelry for each type of piece.
Including educational resources for clients can be extremely helpful, for example including a short video of showing your clients how to measure their current jewelry pieces can help them to decipher their jewelry size at home! If you are still unsure whether or not your clients will be able to measure accurately at home, it’s better to err on the safe side and be very transparent about the need for the customer to know their size before committing to a purchase. This way you set expectations right off the bat and minimize the chances of getting returns.
BodyArtforms has dedicated a page of their website where they share a few images and charts that lend themselves to helping clients determine their sizing. Here is a link to draw some inspiration from.
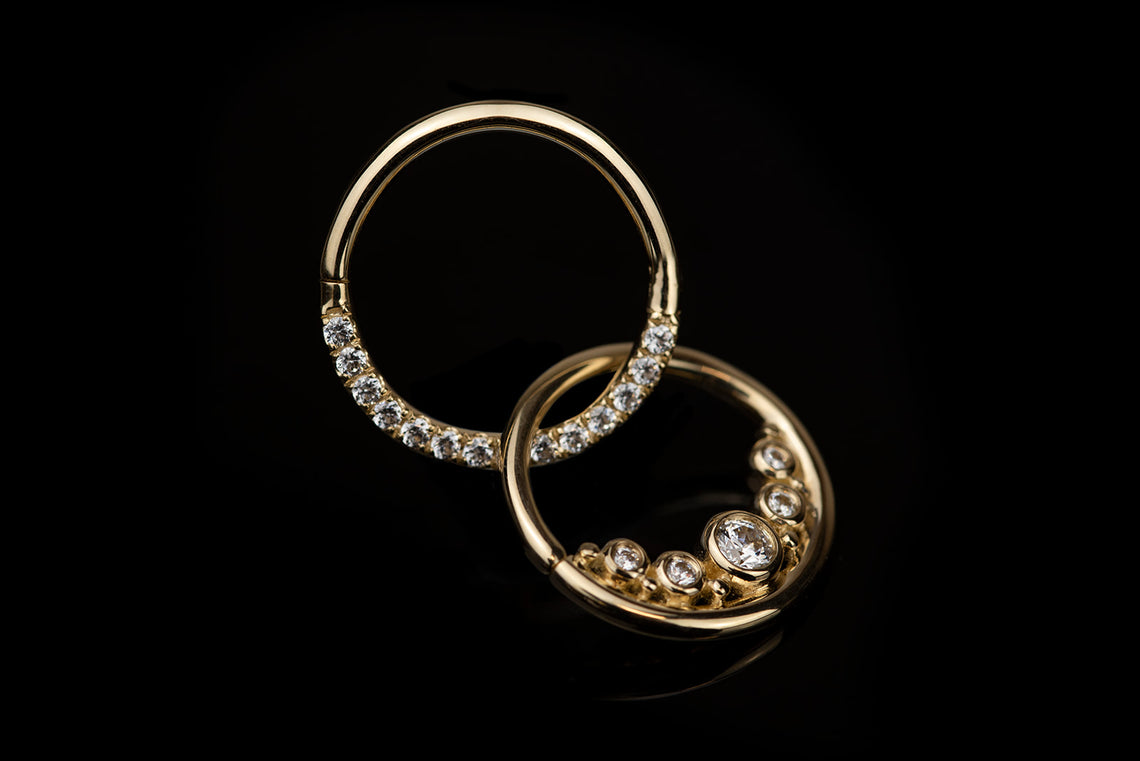
What is a good way to source product shots? If I take my own do you have any pointers?
Product photos are one of the main deciding factors for clients clicking on and hopefully purchasing your jewelry, or whatever item you’re selling! If you have the budget, this would be a great place to allocate a portion of that. Professionally done product shots are a great investment for your company, and will be able to be reused on social media, email market, digital and or print ads and many other resources you may create for your studio.
Although, product shots are totally doable yourself if you’re able to allocate the time and effort!
When taking your own product shots there are a few key factors to keep in mind during your shooting process.
- Lighting
- Clarity
- Context
- Gear
Lighting
Lighting is one of the key factors to getting a great looking product shot. The two options in terms of finding great lighting is using artificial studio lights, or using good old fashion natural light. There are pros and cons to both sources, but the main being that daylight is not available at all hours, and artificial lights cost money. If you choose to use artificial lights, LED panels or ring lights are your best option. These oftentimes come with dimmers and light temperature dials that give you more control depending on what look you’re going for. Here are a few options readily available that we would suggest:
If you choose to use natural light, the best time to take your photos will be mid morning. Ideally on a cloudy day to avoid harsh shadows casted by direct sunlight. Clouds act as a filter and diffuse harsh sunlight, to give your subject matter an even amount of light across its surface. We prefer to shoot right beside a window, or outside if weather permits! If you find one side of your jewelry is looking slightly darker, try bouncing some of the window light with a white piece of paper or bounce board. These can throw an impressive amount of light when angled correctly and can make the world of a difference!
Here is a an option that we suggest
Clarity
When taking photos of jewelry your clients will want to see every aspect of the piece very clearly. This means all your pictures need to be perfectly in focus, and easy to decipher. The background of your photos should also be complementary, without taking away from the jewelry itself. Avoiding a busy or overly textured background is ideal. Many prefer to see a clean solid colour background. A way to achieve this would be to use a light box, or matte finish paper as your background.
Here is a link to a small lightbox we suggest:
Context
Making things clear for your clients is pertinent to making a sale! It can be extremely helpful for clients to see the jewelry with a bit more context, which in this case is an in ear or in body picture to refer to! This will give your client an idea of size, and how it could look on themselves. Similar to clothing, most shoppers like to see how the piece will look on a body before purchasing.
If you don’t have a photo of the specific piece already in a client, try popping it on a silicone ear, or even a paper diagram of an ear. This can make the world of a difference for some clients, and serve as a very helpful visual!
Here is a link to a readily available silicone ear:
Gear
Professional photos do not necessarily have to be shot on professional gear. There are so many amazing gadgets that make taking great photos easy on any device. These can include utilizing portrait mode on your phone, getting a clip on macro lens for your mobile device, or investing in a great lens for a DSLR camera. These of course come at different price points, but will be a valuable investment for your business, no matter how much you choose to spend!
Here are a few pieces of equipment we recommend at different price points:
Lastly, an amazing resource for photo tips and tricks specifically for piercings and jewelry photography are asking your peers! A few of our team members have had great experiences asking for help from the contributors in the Piercing Photography 101 Facebook group. We will link it here as we believe it can be a very helpful resource and source of inspiration!
Where is the best place to host my online store? (Shopify, Wix, Square Space, etc)
Shopify is the best all-in-one solution available for starting your new online store. They have varying levels of plans so that your store and its capabilities can grow with your business. There are also a lot of pre-developed themes available out of the box to help make your store look great and reflect the brick and mortar business that you’ve developed to date. They provide you with tools for gathering analytics around your products and consumers as well as integrations with your favourite marketing tools.
Shopify also has a wide developer community, so it is quick and easy to find help if you need to customize your store or a plugin/app to extend the capabilities of your store at the click of a button.
In terms of packaging where do I begin? Do you have any tips on cost effective or eco friendly options?
Thankfully, jewelry stores have been selling online for a long time now. The best way to decide what packaging will work best for you and your customers is to go check out what the jewelry brands you love most are doing.
Nowadays there are a plethora of packaging options available and you’ll most likely need to try a few before you find your winner. Luckily, you can source them from your local stores, bulk suppliers, and even Amazon.
Some of them might even offer eco-friendly options made of recycled or biodegradable materials. After receiving feedback from our current clients, we made changes to ensure our own packaging was more environmentally friendly. This might be something you’d like to keep in mind at your own studio when you’re looking into packaging suppliers, and how much packaging is actually necessary for your jewelry.
Things to keep in mind when deciding on the packaging are:
Is the packaging the right size?
Make sure the packaging will fit your products, but also won’t leave too much room for wiggle. This will reduce the amount of impact the product receives naturally during transportation and the chances of your customer receiving a damaged product you invested so much care and love shipping.
Does the product have some cushioning?
Some mailers come with bubble layers to protect the contents and there are also filling options such as shredded paper or foam peanuts. It is also pertinent that your packaging is strong. At junipurr we have had to increase the strength of our boxes to ensure that our jewelry does not arrive damaged. Unfortunately a “handle with care” sticker can only go so far, and you should be prepared for your packaging to withstand some bumps along the way.
Is the package exciting?
Think about how you’d like to receive a brand-new jewelry piece in the mail. Opening a package should be a magical experience and set up the mood for the jewelry they’re about to use. You are high quality so your packaging should be of high quality.
What is the best way to organize jewelry on my site for my clients to navigate easily?
Only time will tell the best way to organize jewelry on your site. The best approach is to start with the basics. Go check your favourite jewelry online stores and see how they organize their products. Don’t overthink it. Do your research and follow your gut.
An online shop we really admire is Jewellery By Sophie – Jewellery by Sophie. They have organized their website based on the types of jewelry, with subcategories where clients can select the material they are looking for as well. In addition to this they also have a “basics” section, which is great for clients who may be a bit intimidated or confused on where to start!
Once you start making sales you will naturally find ways of improving how the jewelry is organized based on customer feedback or simply by being more comfortable with your own store. Test constantly and never stop improving.
How do I know if offering international shipping is worth it?
Short answer: by trial and error.
Expanding the markets you ship to can expose your brand to more people, and if they start buying from you, that’s a win!
Luckily, other than spending the time to find out international shipping rates and setting up on your online store there are little to no downsides of offering international shipping.
Give it a shot, see if there is demand. Ultimately it is better to offer international shipping and not have any sales then lose sales because you don’t offer international shipping.
What is the best way for me to advertise my online store?
There are a few spots where you should update details about your new online store right away. These spots are free and will start to generate exposure for your new shop right away.
- Brand Facebook Page
- Be sure to update your brand Facebook page with the new URL of your store
- Brand Instagram Profile
- Be sure to update your brand Instagram profile with the new URL of your store
- Google My Business Profile
- If you have a GMB profile for your physical location, update it with the new URL of your store. If you don’t have a GMB profile, be sure to create one now.
- Other Business Directories (Yelp, Yellow Pages, etc.) where you are listed
- Visit any business directories where your brand may be present. Request that your listing is updated with the new URL of your online store.
As for paid advertising, the following would be our recommendation of platforms to look at:
- Facebook / Instagram
- Set up a feed to import your product catalogue. Facebook will use these feed to power ads to help sell in your product to your target audience
- Google Ads
- Google shopping ads will display your product to the right people online. This will surface your product across their display network as well as within Google search results pages
- If it’s available in your region, importing your products via a feed and advertising them on Pinterest as shoppable pins will bring a lot of eyes to your website.
Related Articles
Related Articles